Basement Ideas, DIY, Home Improvement
Effortlessly Elevate Your Space: How to Install a Biggies Window Well Scene with a Ladder
18
Apr
Apr
Step 1: Prepare the Window Well
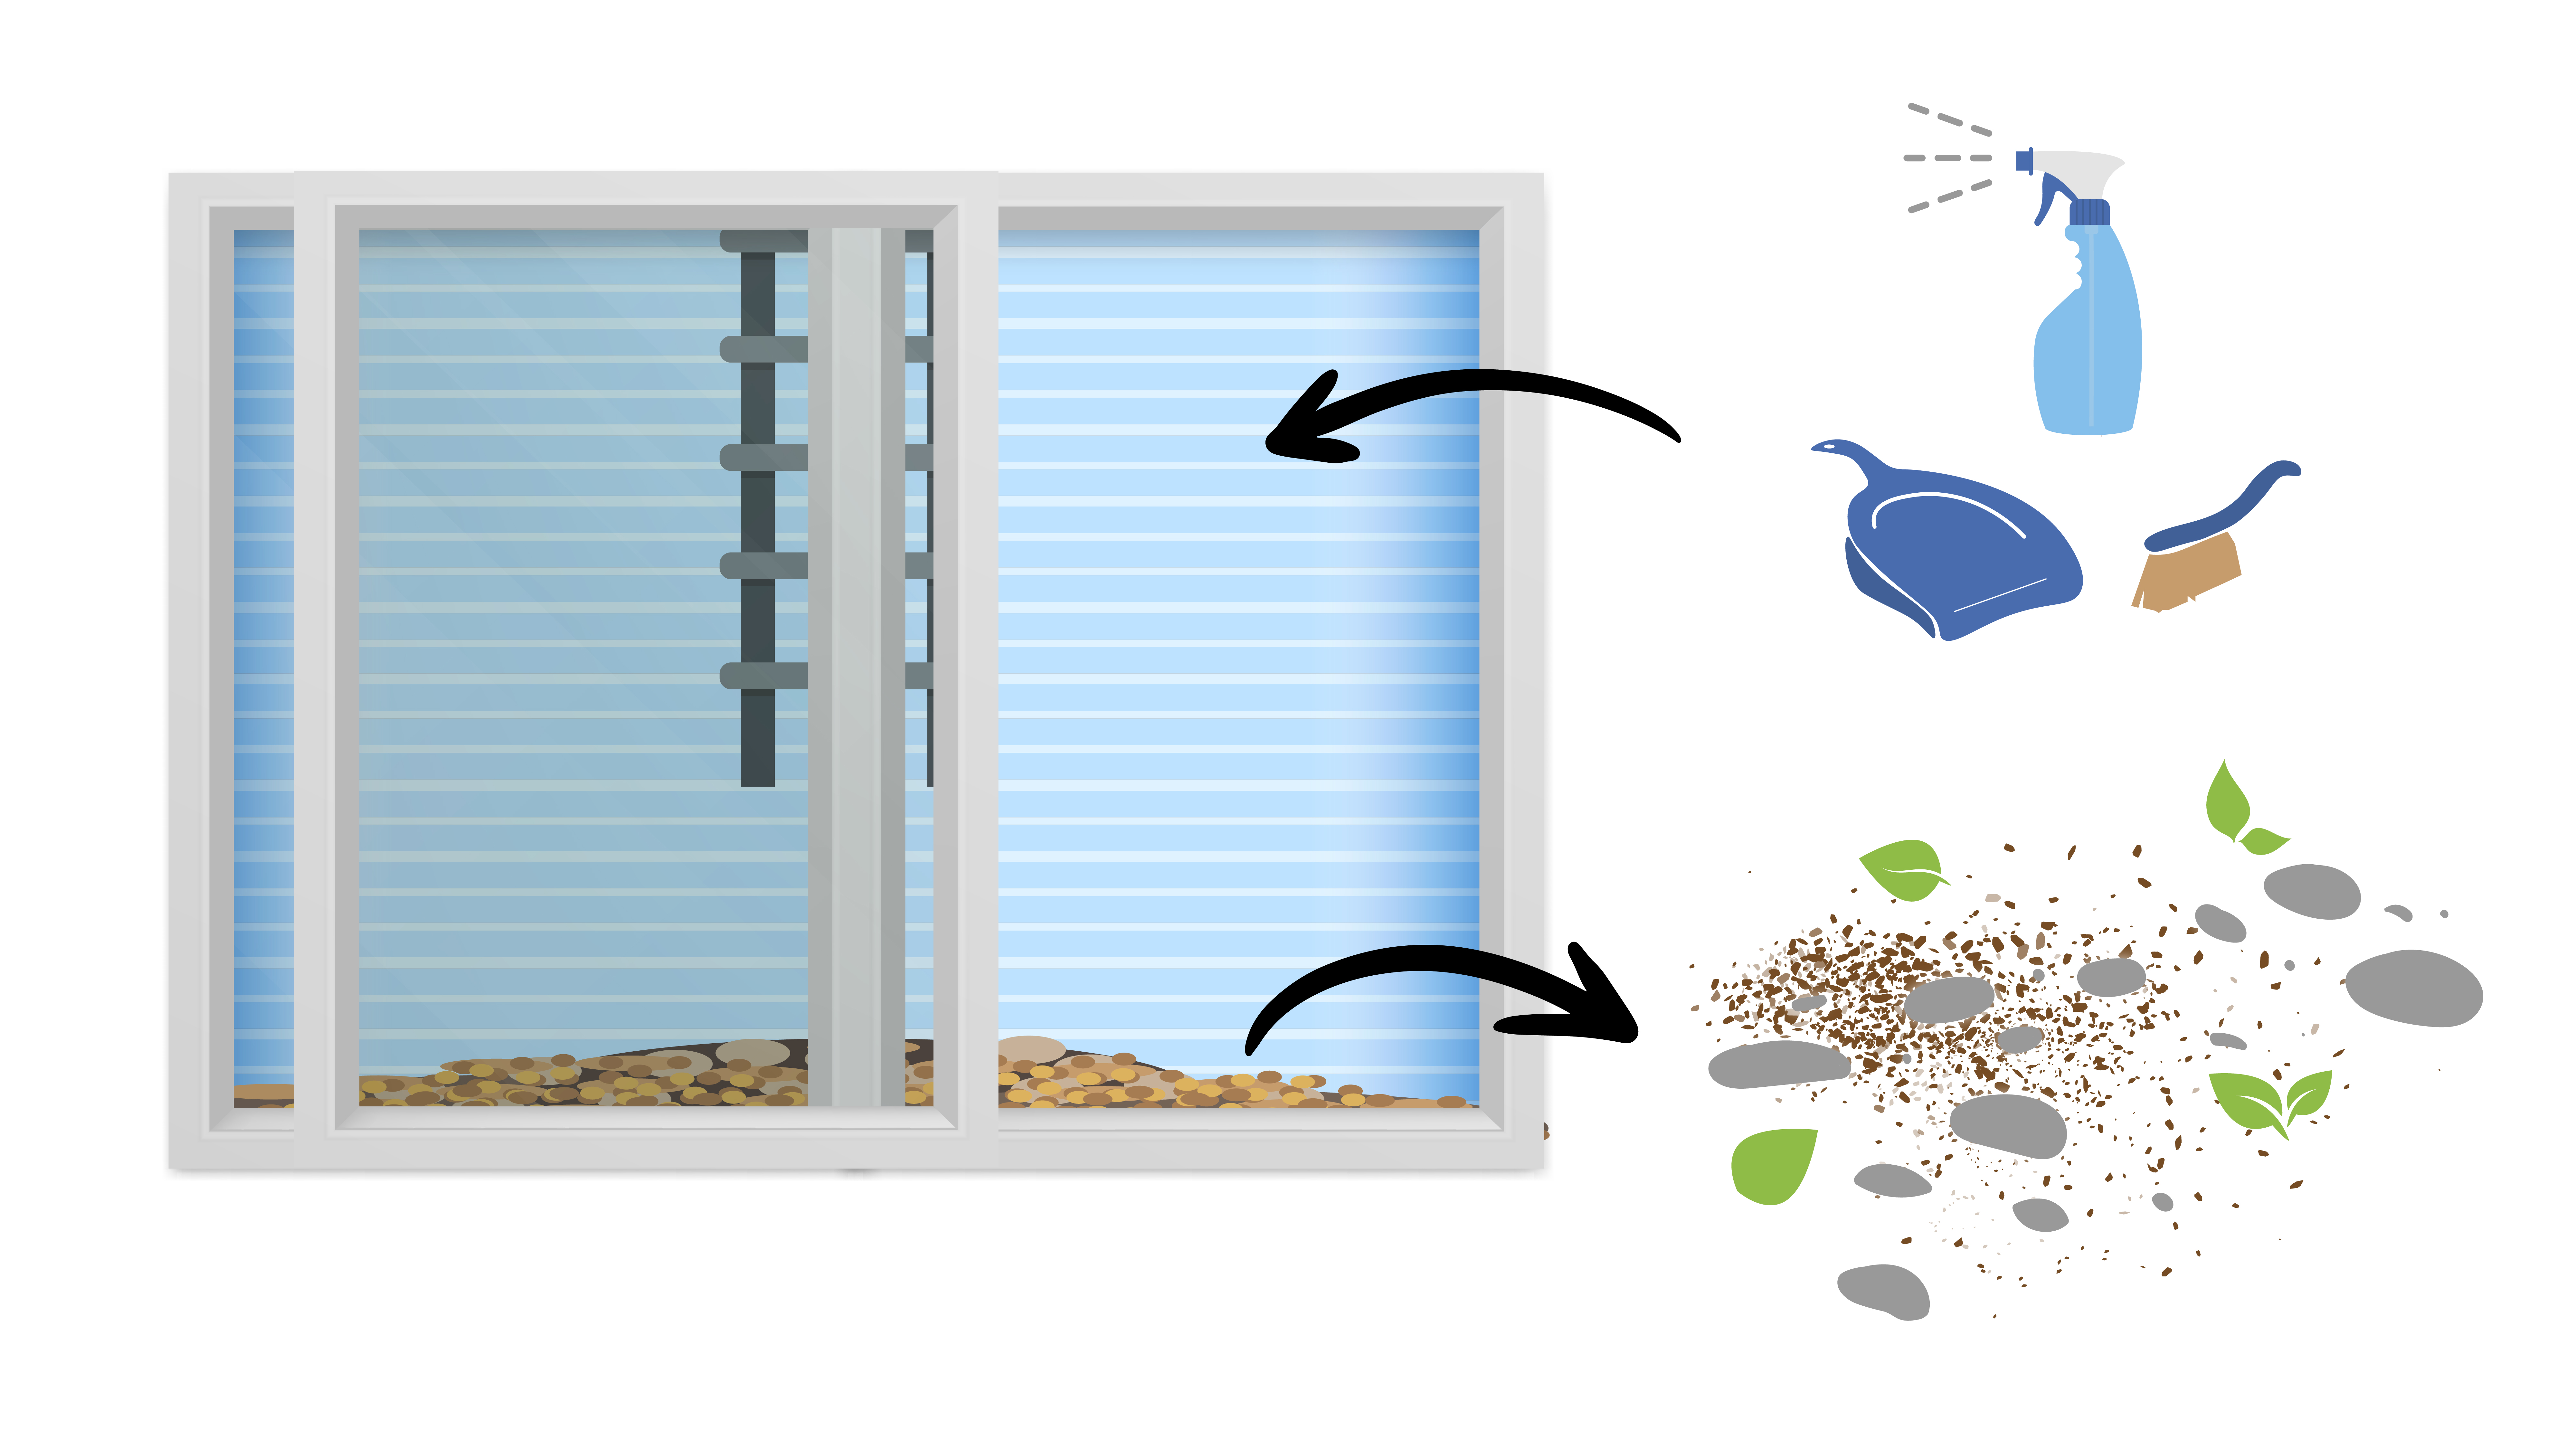
Start by removing any debris from the window well, such as leaves, dirt, or rocks. Clean the well walls with rubbing alcohol or another suitable solvent to ensure the adhesive strips stick properly. If necessary, remove a few inches of rock or other material from the bottom of the well to make rolling out the scene easier. The removed material can later be replaced to help anchor the bottom of the liner.
Step 2: Remove Safety Ladder
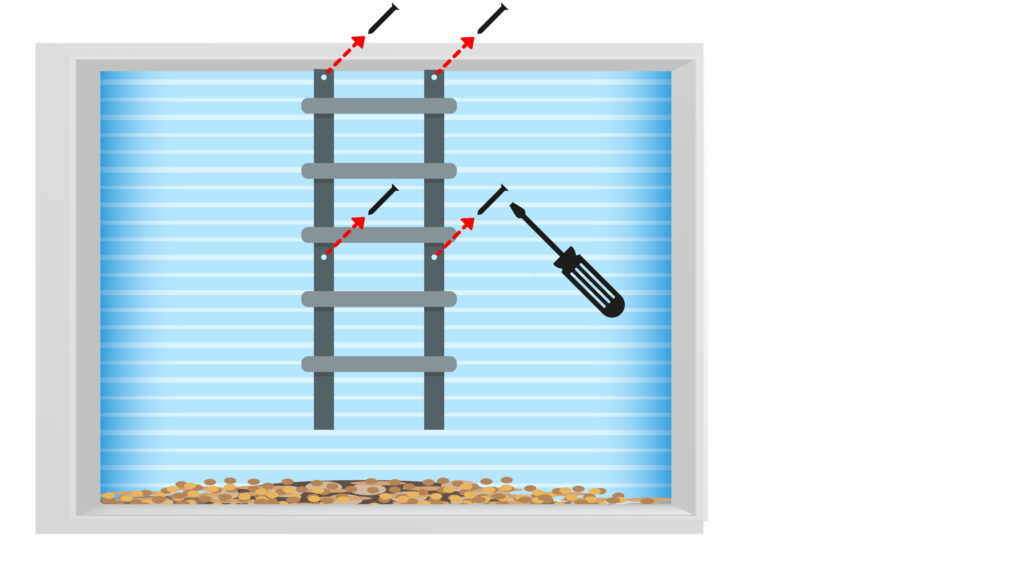
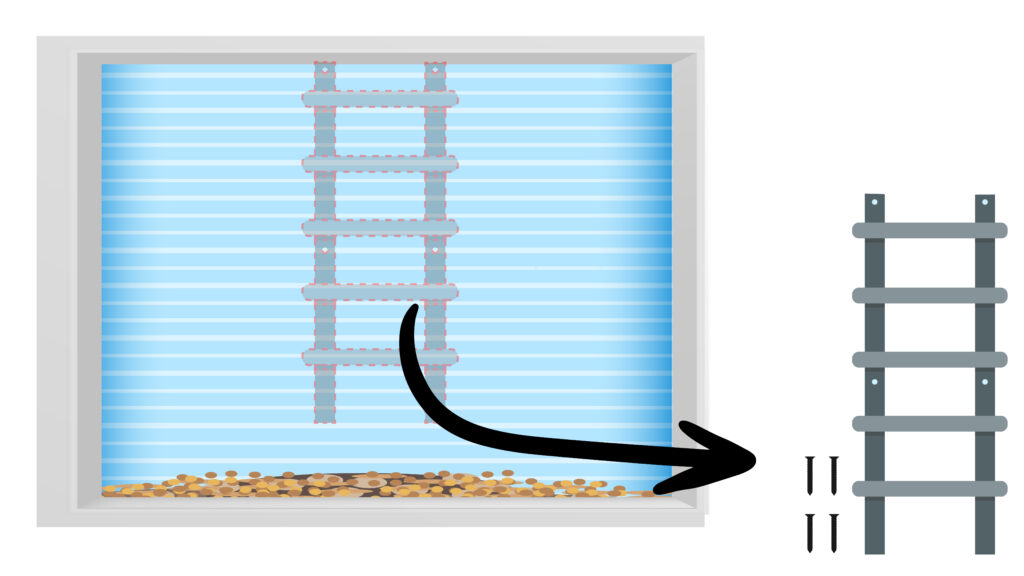
If your window well has a safety ladder, carefully detach it. Use the appropriate tools, like a wrench or screwdriver, to unscrew any bolts or fasteners securing the ladder. Set the ladder aside but keep it close by, as it will need to be reattached once the scene is in place.
Pro Tip: Take note of where the bolts or screws were positioned. This will be important when you mark the scene for reattaching the ladder.
Step 3: Measure
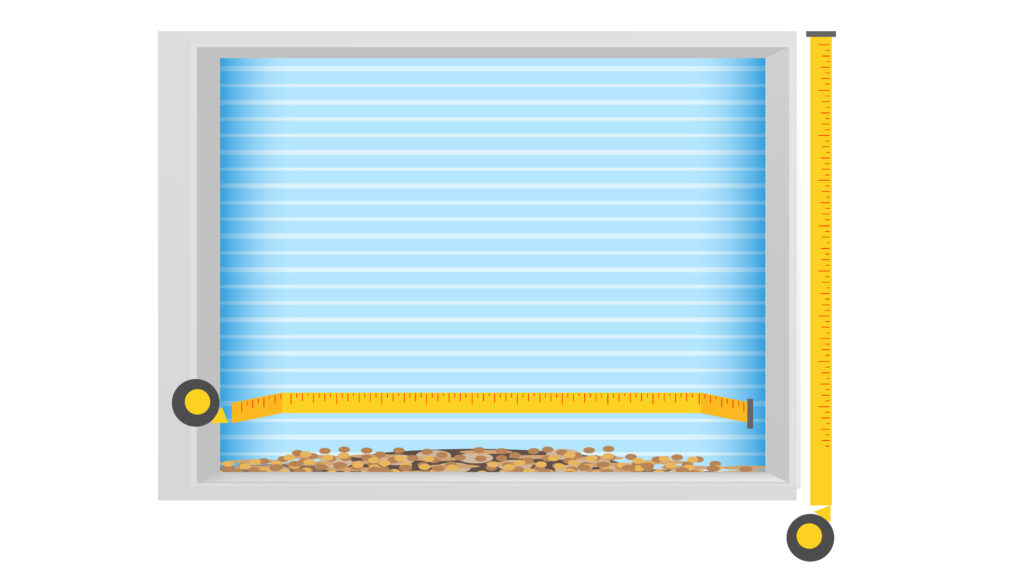
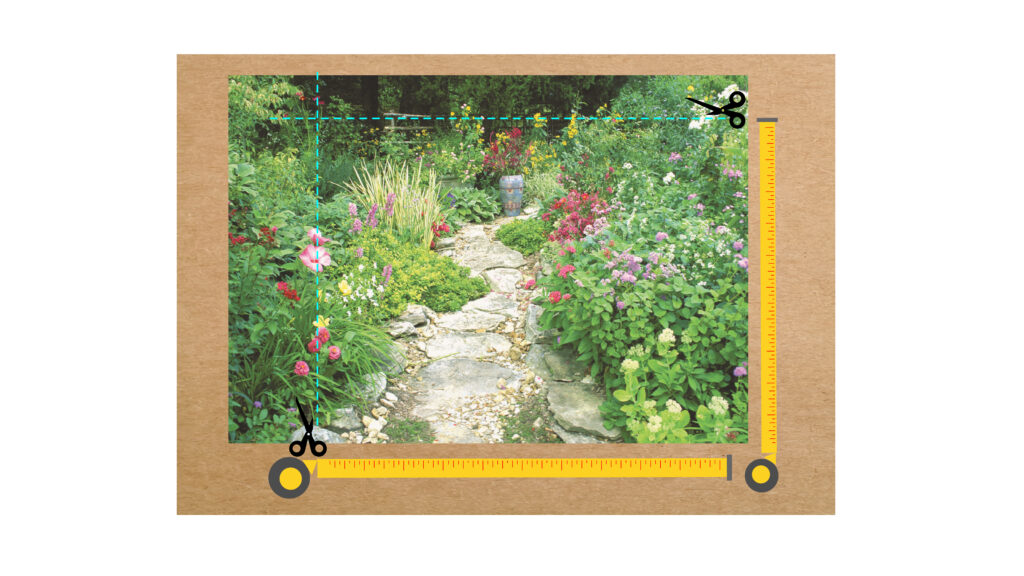
Measure the height and width of your window well. Make sure you account for the curve by keeping your measuring tape flush against the entire width of the window well. Lay your Biggies scene on a flat surface, image side up, and mark the necessary dimensions. Anchor the corners with a weight if needed.
Carefully trim the scene if needed using a utility knife or sharp scissors. Protect the surface underneath with a piece of cardboard or wood to avoid accidental damage while cutting.
Reminder: It’s better to cut conservatively and make adjustments later if needed—it’s impossible to add material back once it’s trimmed
Step 4: Attach Fasteners and Scene
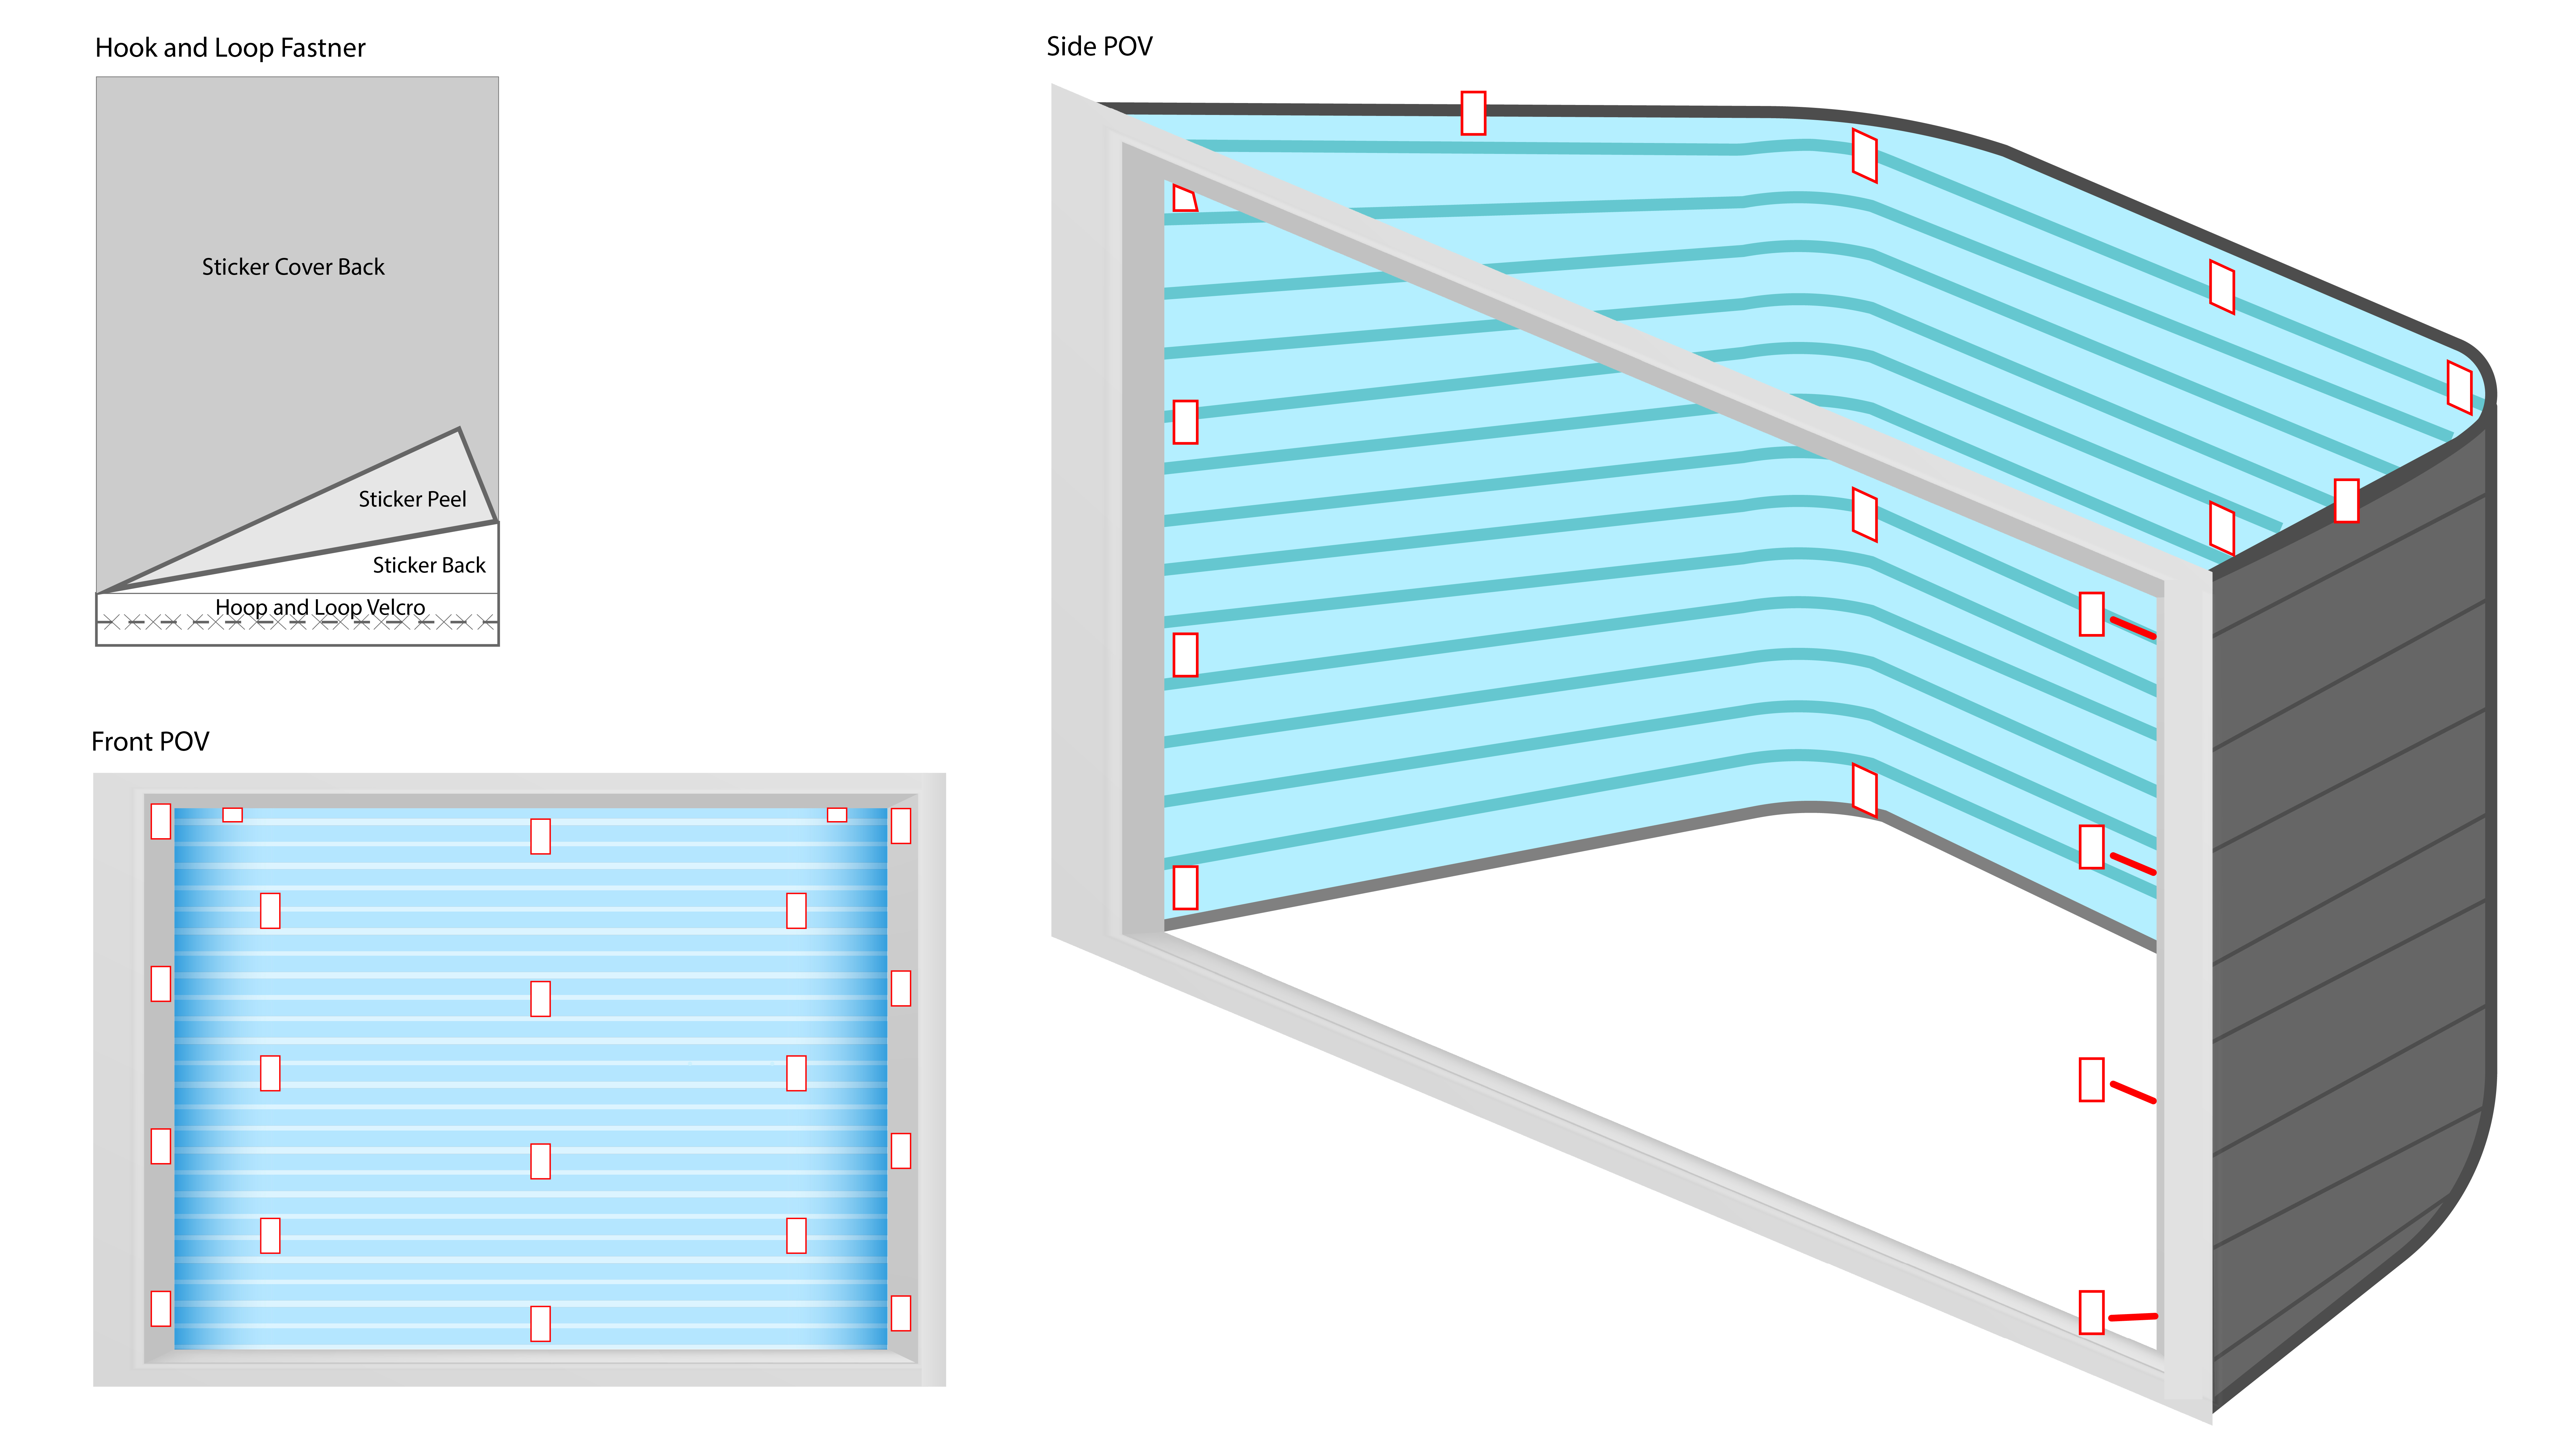 Start by attaching the paired hook & loop fasteners to the ridges of the window well, avoiding any rusted areas. Use a pattern that ensures even spacing, with four pieces down each side, four down the middle, three along each curve, and two at the top edge. Keep the backing on the adhesive strips until you’re ready to secure the scene.
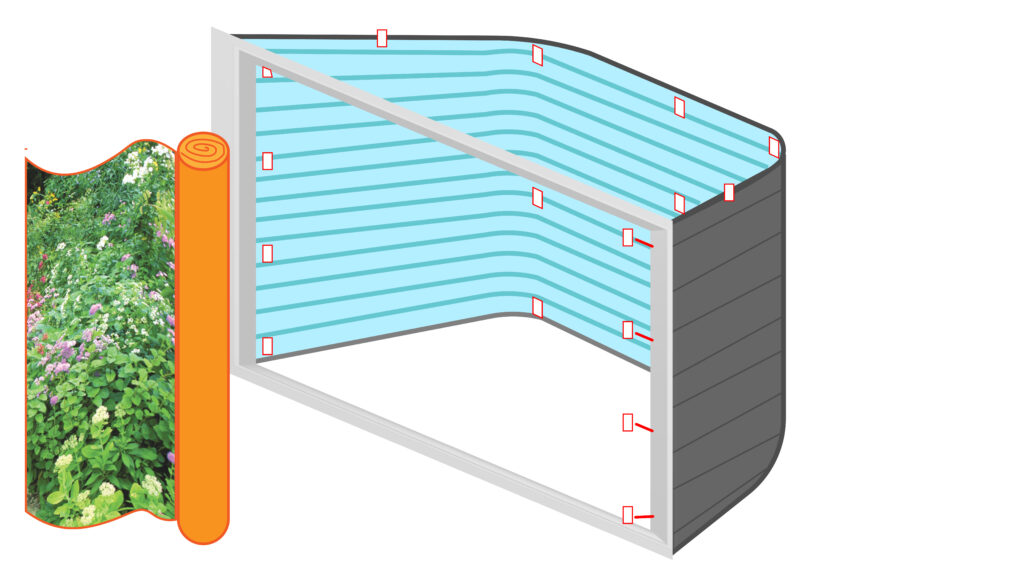 Unroll the liner and position it in the well.
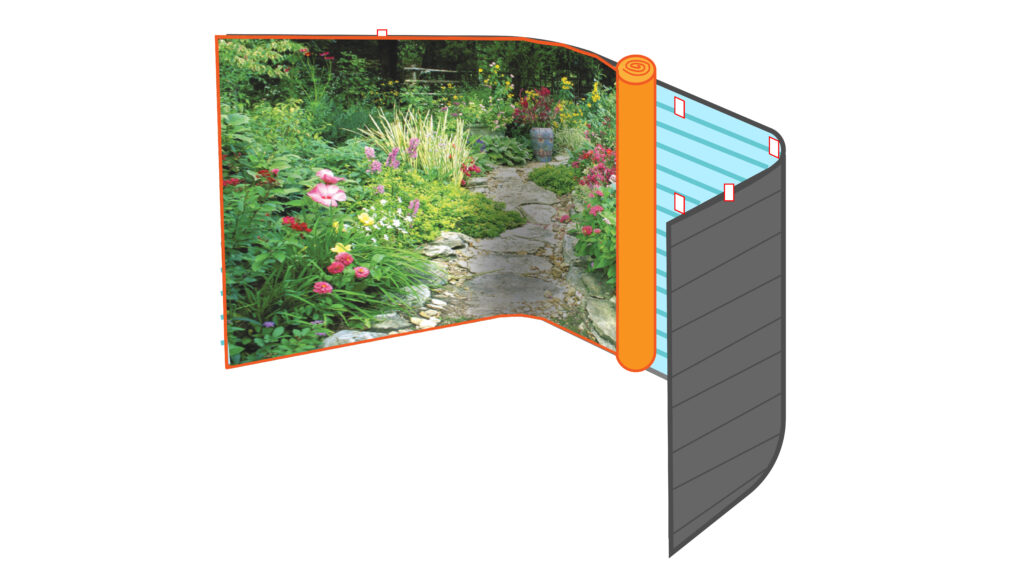
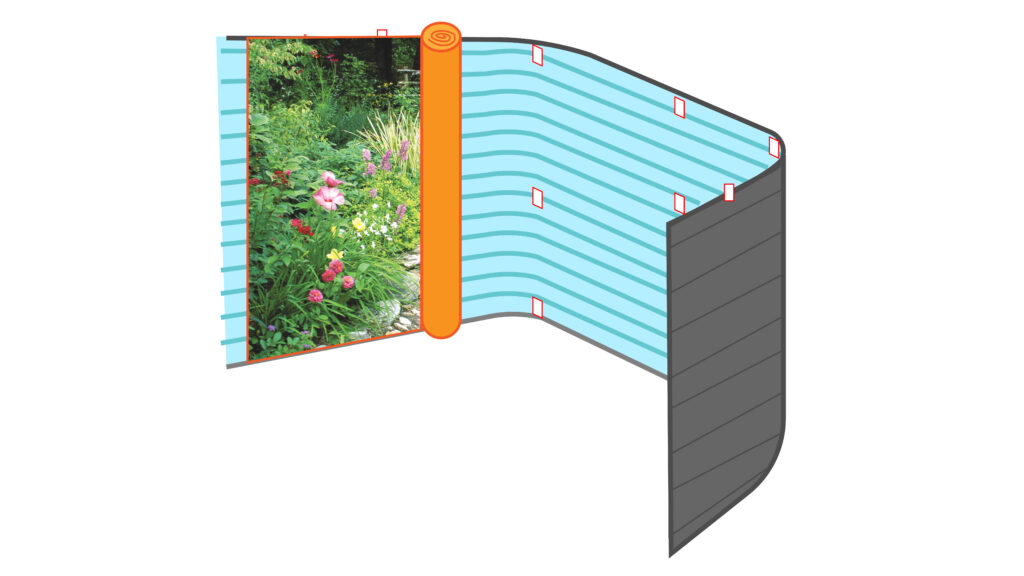 Begin removing the backing from one set of fasteners, pressing the liner against the well firmly as you move along. This will help keep the liner smooth and secure as you work.
Step 5: Mark Ladder Attachment Points
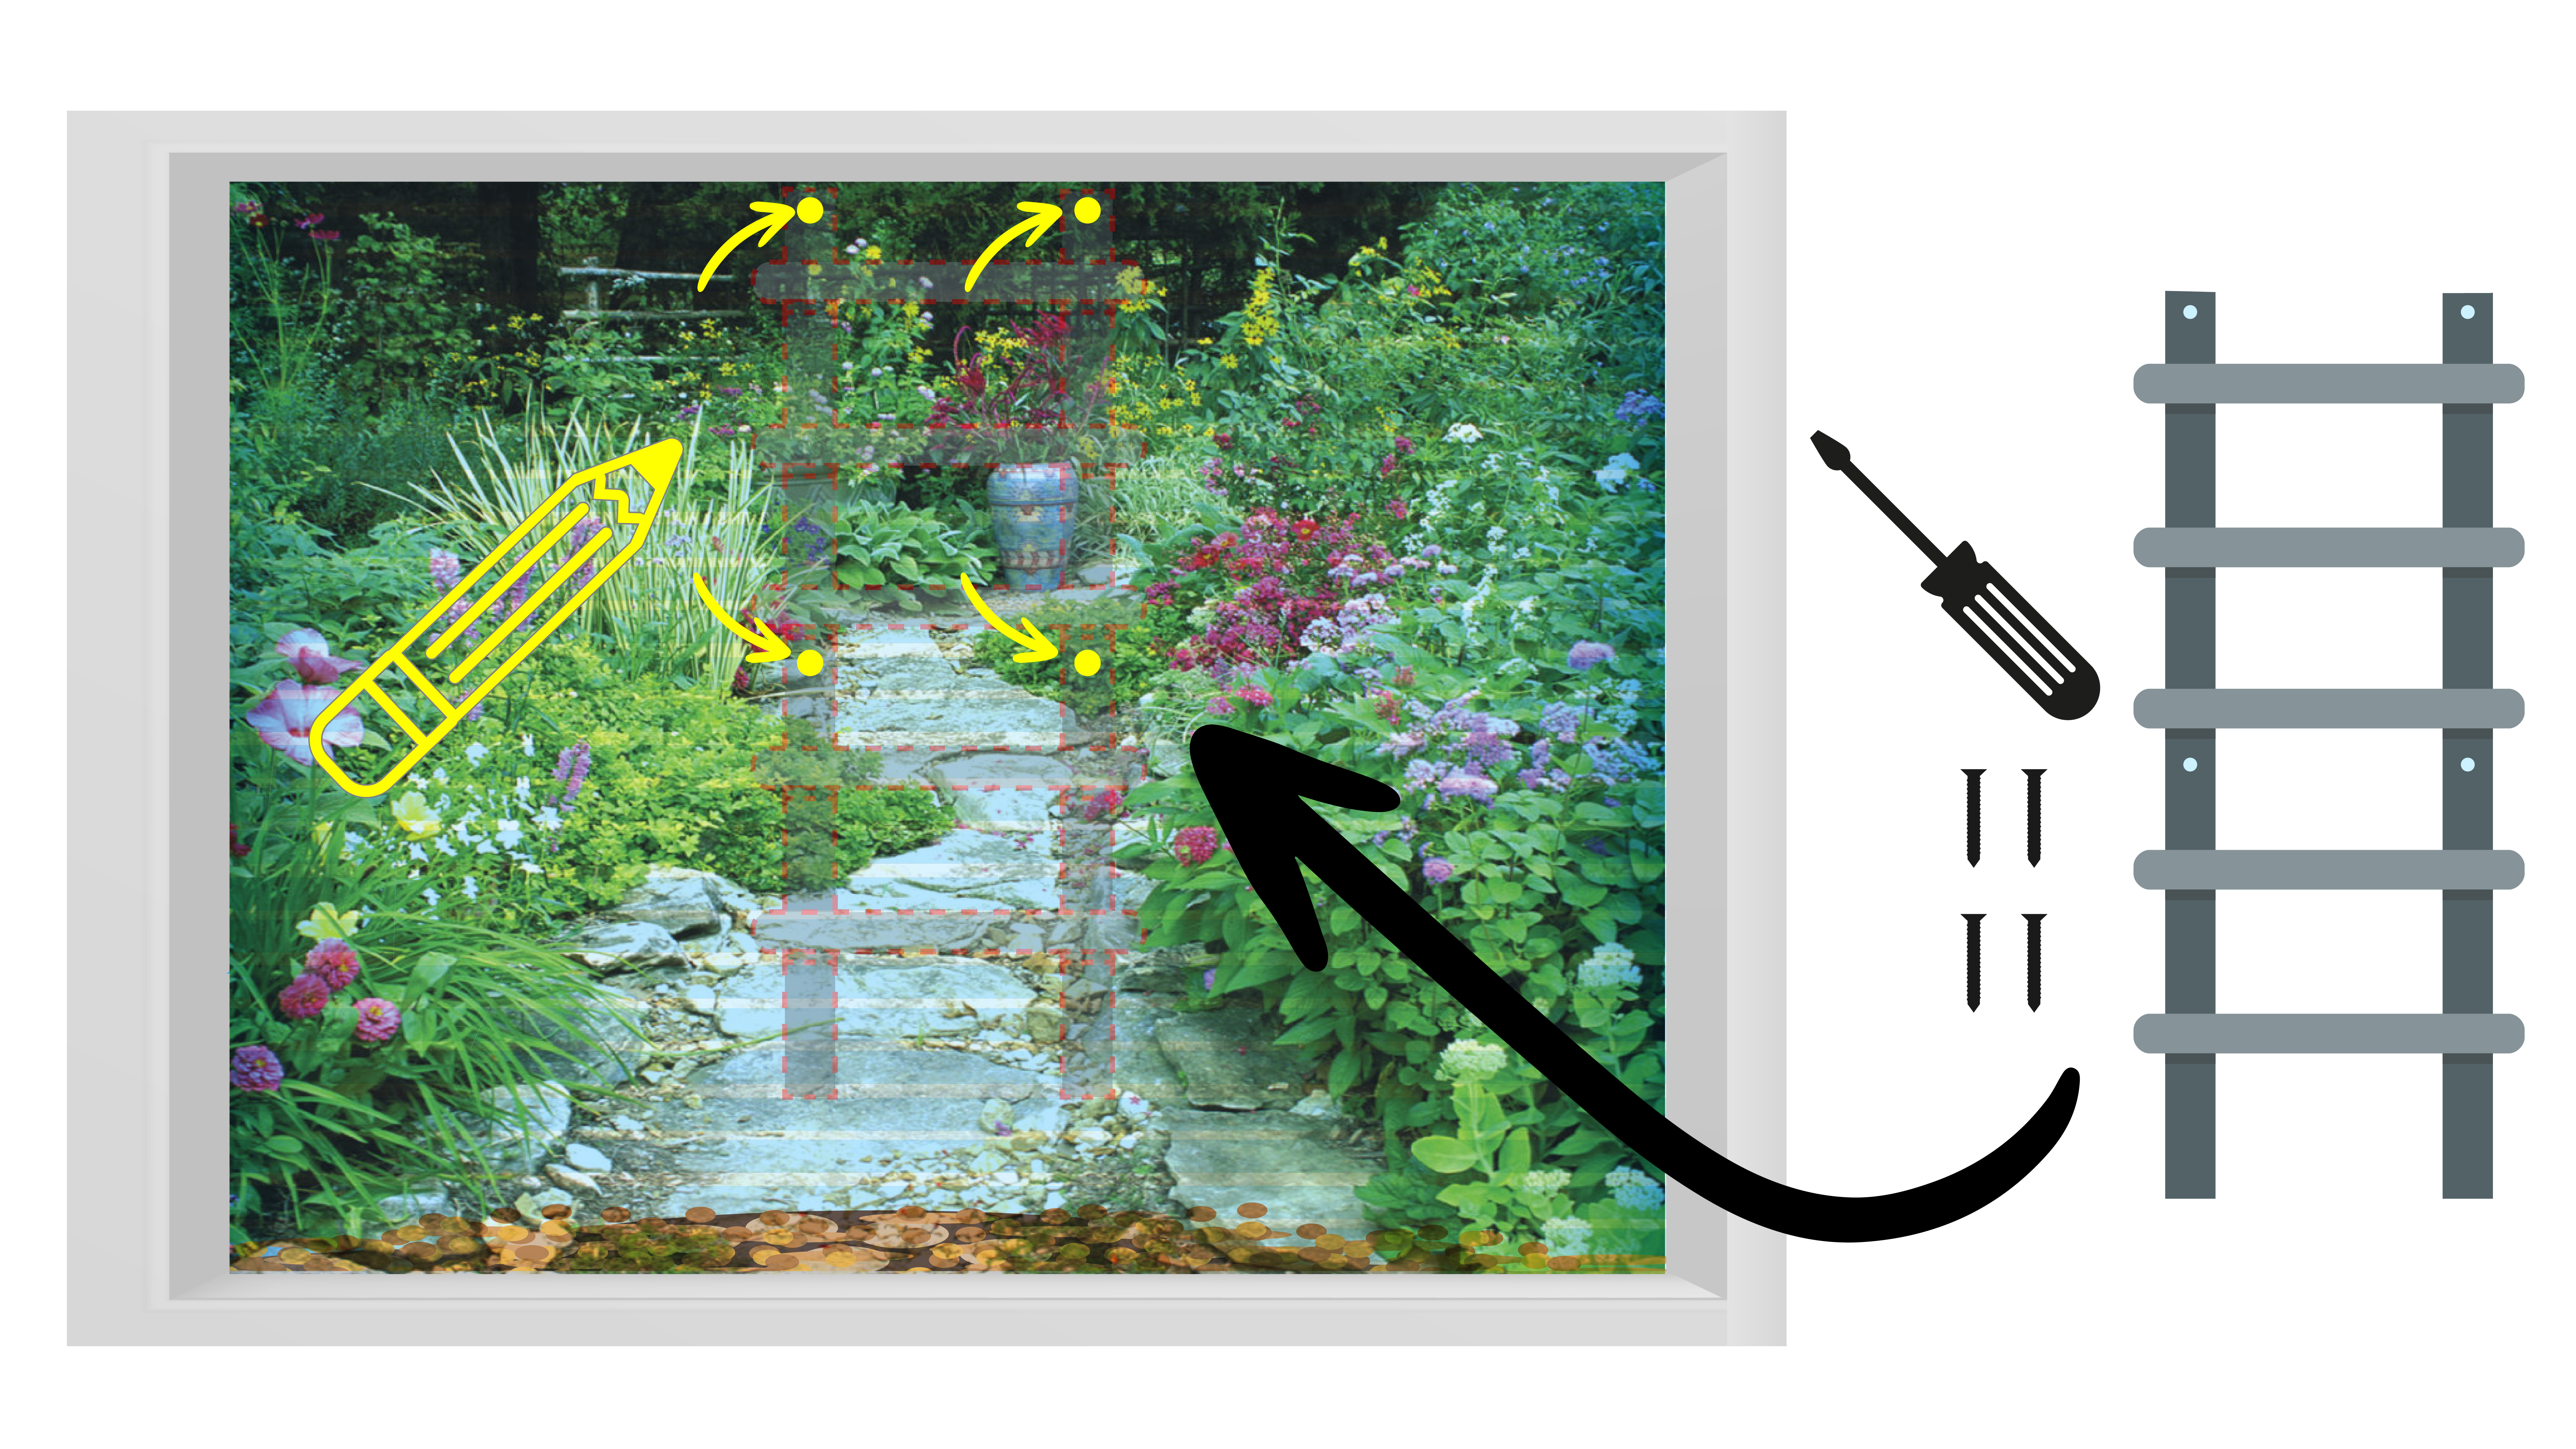
Before reattaching the ladder, use a pencil or marker to indicate where the bolts or screws for the ladder should go as you’re rolling out your scene. This step ensures that your ladder can be reattached without disrupting the scene’s design or placement.
Step 6: Reattach Ladder
 Align the ladder with the markings you made and secure it with the bolts or screws. Make sure the ladder is tightly fastened and stable for safety. This step is crucial, as leaving the ladder unattached can pose a serious safety hazard.
Safety Note: Always double-check the stability of the ladder after installation to ensure it functions correctly as an emergency escape route.
Step 7: Decorate!
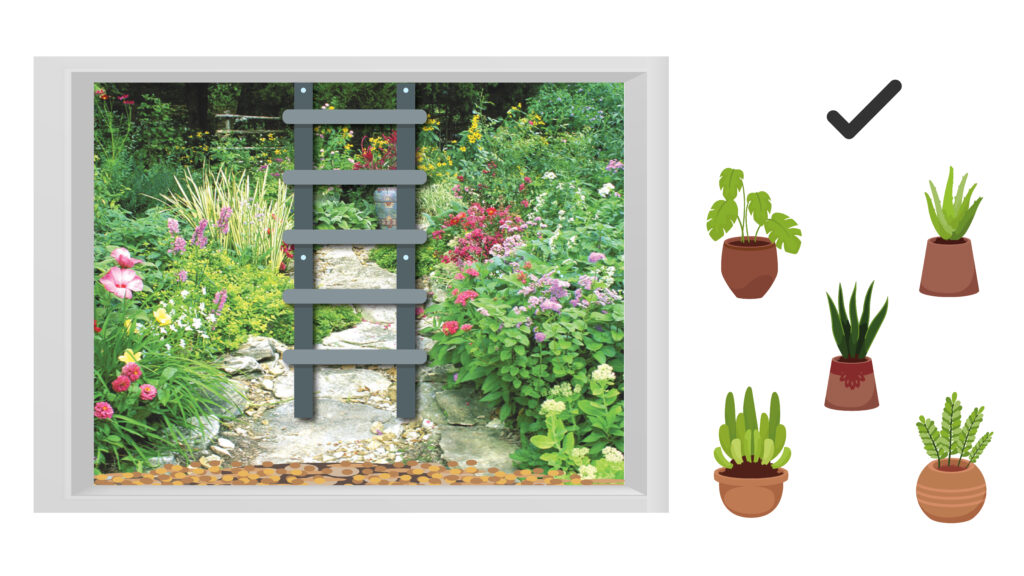
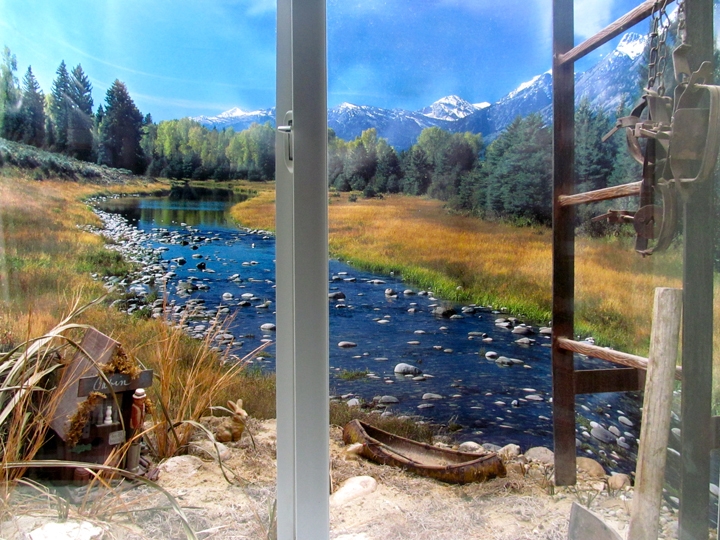
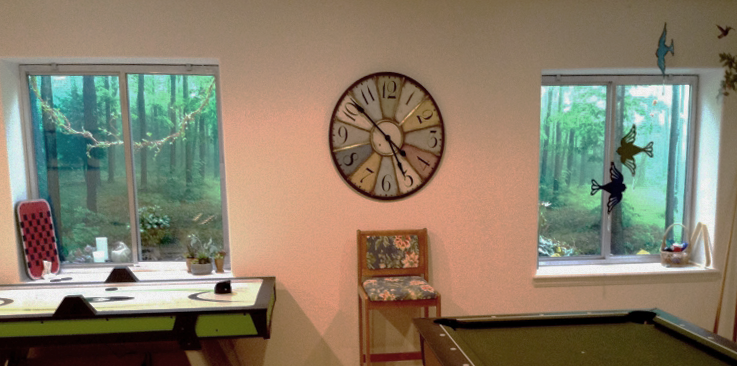
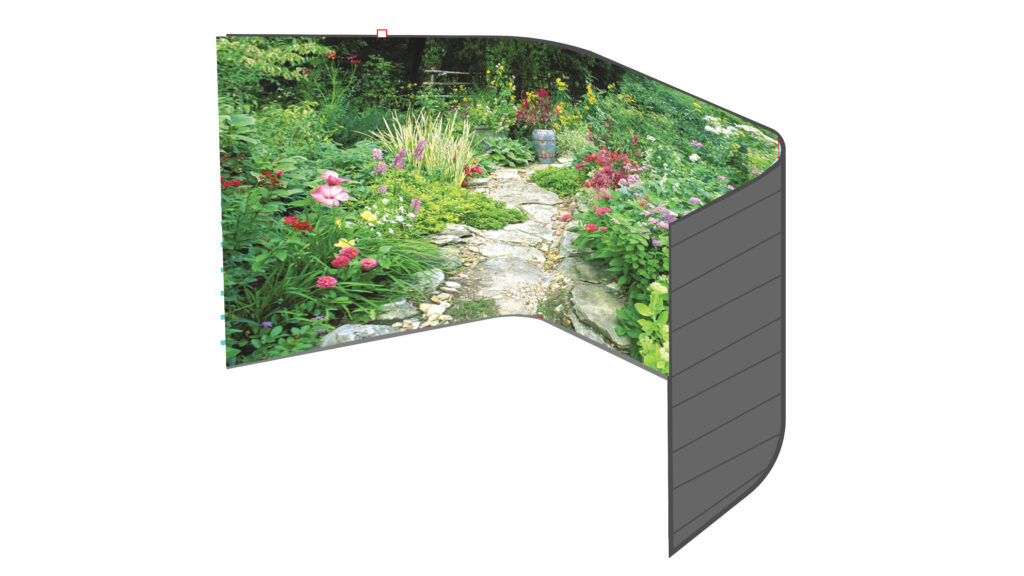
Replace any rock or material at the bottom of the well to cover the liner’s lower edge. Additionally, consider decorating your window well to make the natural beauty of your mural even more immersive. Some window well decorating ideas include adding potted plants, placing decorative rocks or pebbles, incorporating driftwood or small branches, using solar-powered string lights for a soft glow, and adding garden figurines or themed ornaments that match the scene. Elements like driftwood, plants, or larger rocks can go a long way in personalizing your view and enhancing the aesthetic appeal.