Please READ ALL THE DIRECTIONS before applying Dry-Erase Sheets, if product has a curl,
roll out CAREFULLY with DRY-ERASE FACING UP, and anchor the corners with something
heavy for 20 minutes at room temperate, this will make it easier for installation.
Written instructions below the video.
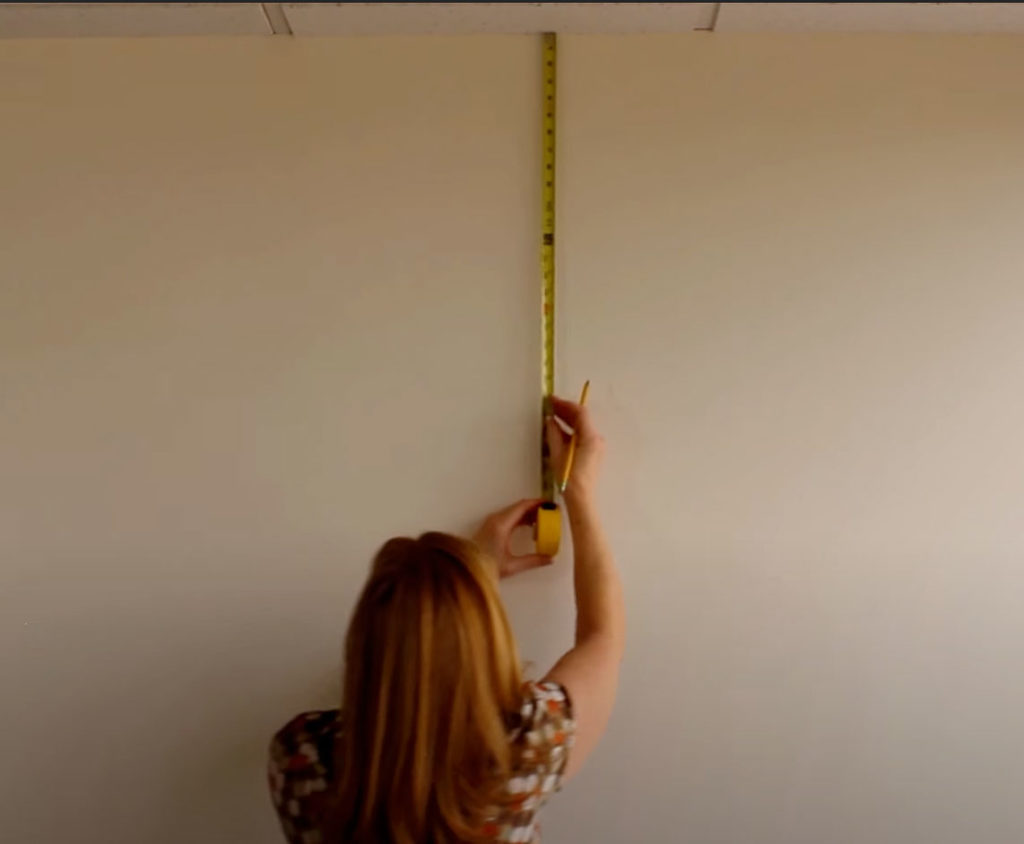
Step 1. Select & Measure
Once you have chosen the area for your Stickie Dry-Erase Sheet, plan for the center of the sheet to be at eye level or a little below. Measure down from the ceiling in multiple places with a pencil and see if this makes the best position for the top line of your Dry-Erase Sheet in this particular room. Mark the wall lightly in several spots to give you a visual target for placement.
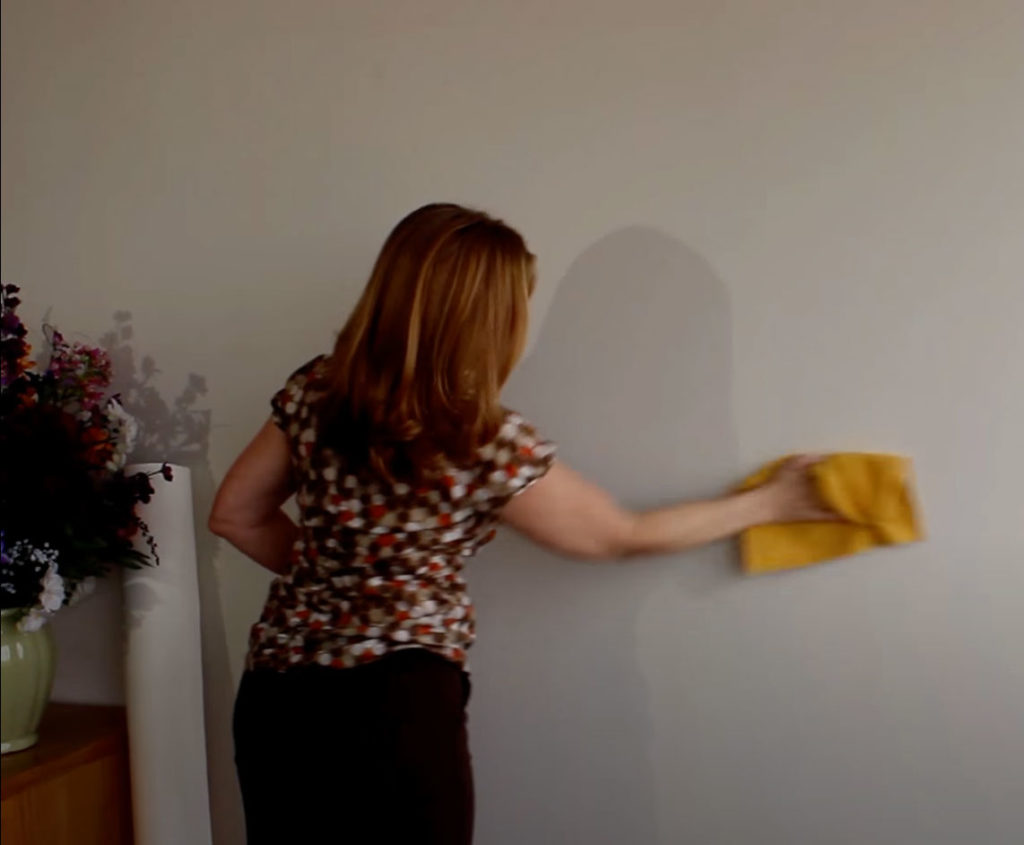
Step 2. Prep
(VERY IMPORTANT) Wipe the wall so it is FREE OF DUST with a rag or paper towel. If the wall is greasy, wash the wall with an appropriate wall cleaner and dry the wall completely.
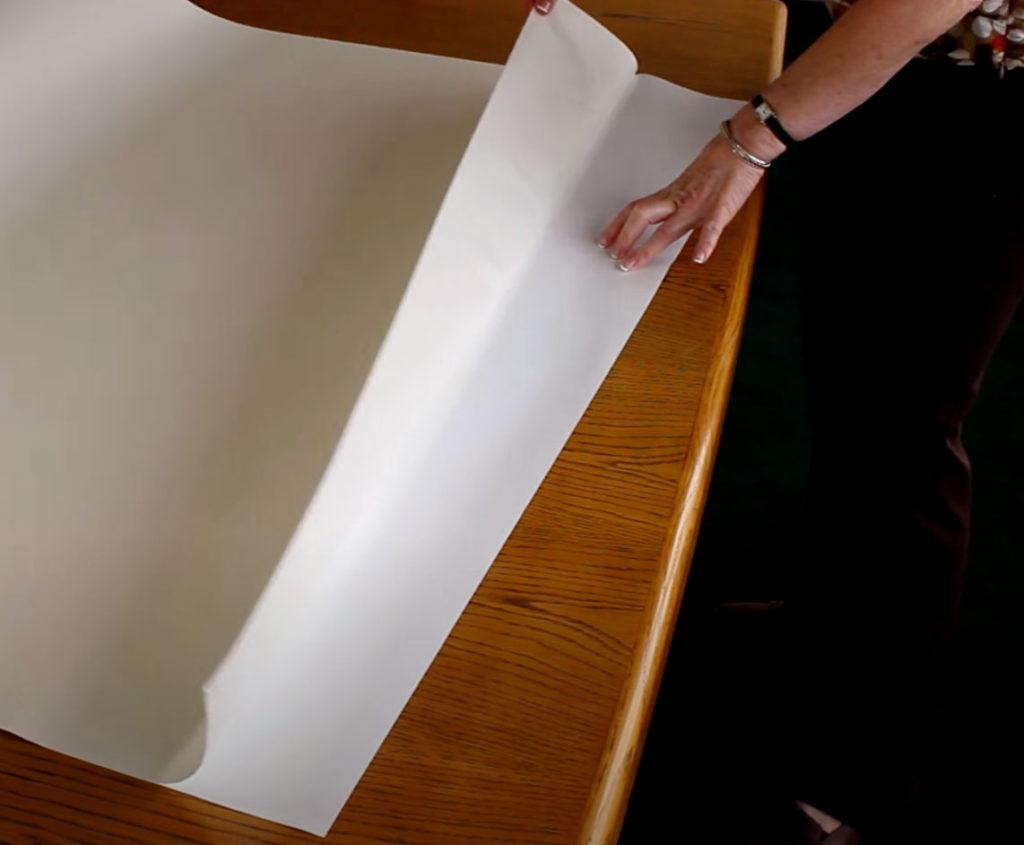
Step 3. Peel
After 20 minutes at room temperate FLIP the Dry-Erase Sheet over with the BACKING FACING UP carefully, peel away & fold over the backing liner 4-5 inches to expose the adhesive at the TOP EDGE and being careful to prevent the adhesive surface from touching each other. Make sure the Dry-Erase Sheets do not crease. Using 2 people when applying larger sheets is strongly recommended.
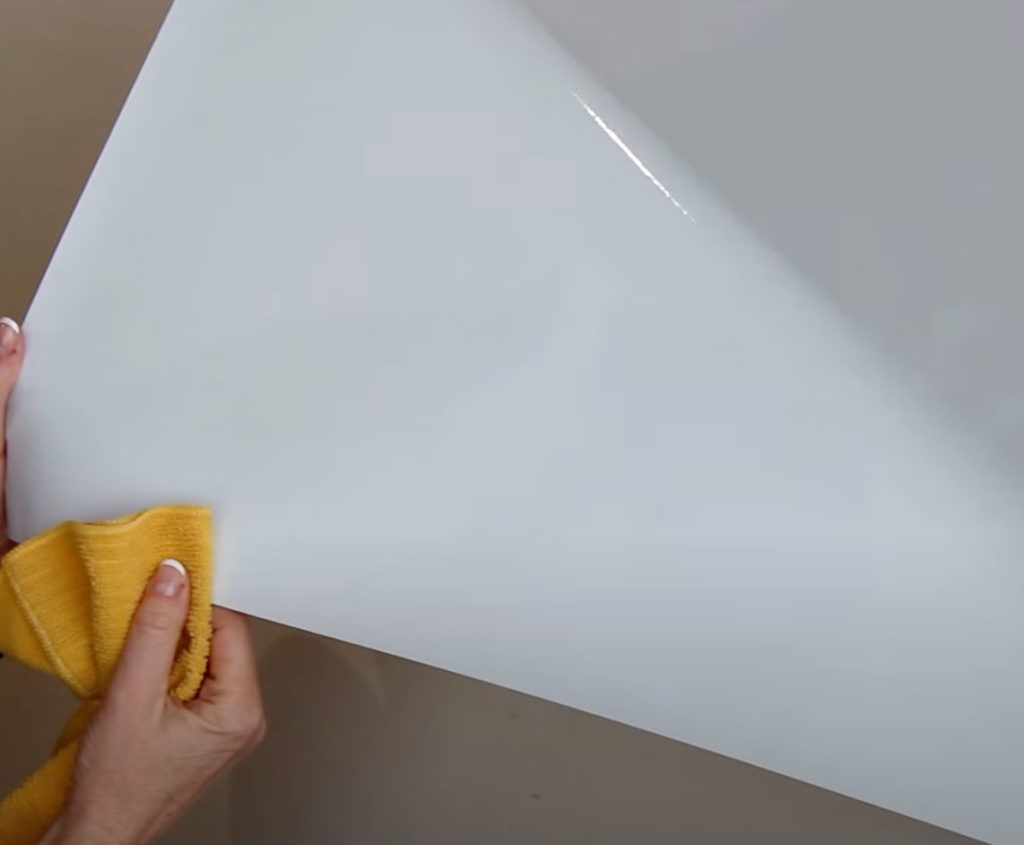
Step 4. Place
Start applying one side of the Dry-Erase Sheet to the wall just beneath the pencil marks you made in STEP 1. Firmly press the TOP EDGE of the entire 4-5 inches onto the wall surface with a paper towel. Once in place start pulling the backing liner down gradually using TWO hands. Wipe from the center out and be sure to remove any air bubbles, if air bubbles occur peel up and re-smooth. When applying multiple sheets together, overlap Dry-Erase Sheets 1/2 inch and press down tightly on ALL overlaps and ALL edges.
Stickie Dry-Erase Sheets works best with newer EXPO® LOW ODOR dry-erase markers.
DO NOT use wet erase or permanent markers, always store markers lying horizontal. Allow ALL Dry-Erase Pens to dry for at least 10 SECONDS before erasing.
SPECIAL TIPS FOR BIGGIES WALL STICKIES: Biggies Wall Stickies will adhere to any smooth, dry surface including walls, windows, doors, and more. The best surfaces are smooth, even, not textured, and non-porous. These include painted walls, glass, finished wood, and metal. Paint and Primer should be allowed to cure for up to one month before Wall Stickies are applied. Adhesion on uneven, rough, porous or dirty/greasy surfaces may not be strong and edges could curl.