Basement Ideas, DIY
Bring the Outdoors In: How to Create a Stunning Window Well Garden
19
Jun
Jun
Step 1: Start with the Basics

Before you dive into decorating, let’s talk logistics. Your window well needs to be clean, secure, and functional. And the importance of this step cannot be overstated, as a blank canvas provides the best possible foundation for design.
- Clean it out: Remove any debris, trash, or overgrowth. Start fresh.
- Check drainage: A garden is lovely. A flooded garden? Not so much. Make sure water can drain properly.
- Add a base layer: Pea gravel or small stones can help with drainage and create a polished look.
Step 2: Choose Your Window Well Scene
Now for the fun part! Create a design aesthetic that will set the tone for your basement, or compliment your already established style. Window well liners are the single best backdrop for any garden setup. These murals transform your view from bleak to beautiful and set the tone for the rest of your decor.
The following window well scenes are just a few routes you may choose to explore in curating your window well garden:

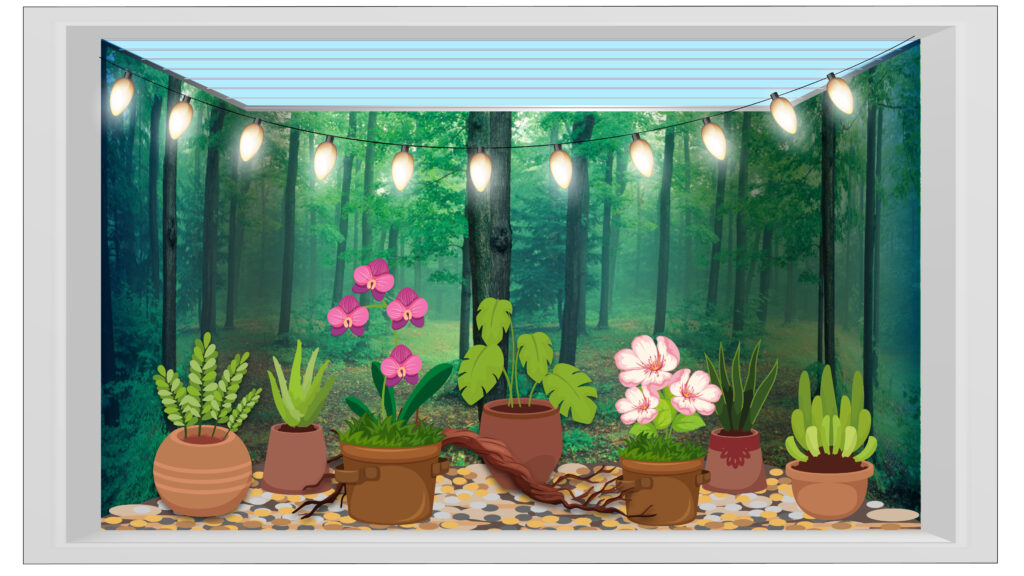
Scene: A lush mountain scene with evergreen and a misty woodland trail.
Garden Vibe: Enchanted forest.
- Plants: Ferns, moss, and hostas (or faux greenery if you’re low-light).
- Decor: Add fairy lights, a miniature log bench, or even tiny woodland creatures.
- Pro tip: Scatter some natural bark mulch to tie in the forest feel.

Scene: A golf wall mural featuring a manicured course and rolling green hills–the perfect view for the resident golf lover.
Aesthetic: Country club charm.
- Plants: Boxwoods, dwarf grasses, or faux turf if sunlight is limited.
- Decor: Add mini golf flags, a vintage club leaned casually in the corner, or a golf ball garden sculpture.
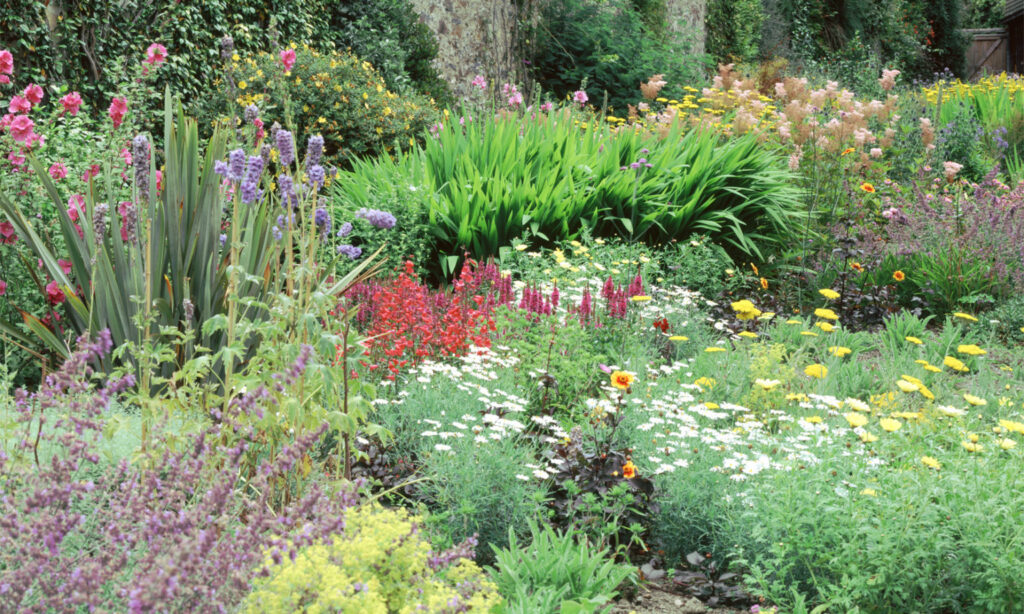
Scene: A meadow in full bloom or a serene garden trail with soft florals.
Aesthetic: English cottage core.
- Plants: Lavender, snapdragons, and daisies.
- Decor: Add a tiny white picket fence, ceramic mushrooms, or a floral trellis.
- Extra charm: Hang a mini wind chime to add a little movement and sound.

Scene: Towering peaks, alpine trees, and rocky outcrops.
Aesthetic: Rugged & serene.
- Plants: Succulents, white stones or pebbles, or decorative rocks with lichen.
- Decor: Add a lantern, a mini faux campfire, or even a mini snow leopard.

Scene: A tranquil garden or a misty hillside.
Aesthetic: Minimalist & calm.
- Plants: Bamboo, peace lilies, or moss balls.
- Decor: Add stacked stones, a small water feature, or a simple wooden bench.
- Lighting: Soft, hidden LED lights are ideal, especially in the evenings.
Step 4: Choose Plants That Complement the Scene
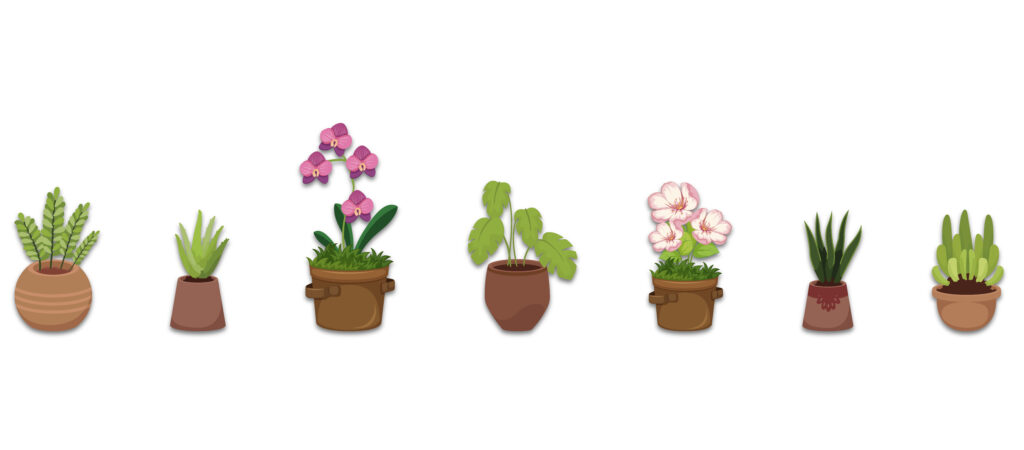
When your base is down, it’s time to level up your window well scenery with some plants. The plants you pick should compliment the distinctive color palette, style, and tone of your mural. You’ll want to create a smooth transition from art to nature. Moreover, consider choosing plants that are featured in the mural itself, as well as featuring some of its real elements to optimize cohesion.
- For a forest or mountain scene, go with ferns, hostas, or miniature evergreens to mirror the greenery in the mural. Add height with a trellis wrapped in ivy or faux climbing vines.
- With a golf window well scene, neat boxwoods, dwarf ornamental grasses, or succulents can give you that clean, landscaped look. Accent with a few potted plants in sleek containers to mimic clubhouse elegance.
- A meadow or floral mural calls for pops of color—try lavender, daisies, or snapdragons (real or faux). Layer in low trailing plants like creeping thyme or decorative moss to give it a soft, lush edge.
Arrange your plants in varying heights and staggered placement for a natural look. Group taller items toward the back and let smaller elements fill in the front, just like you would in a real garden bed.
Consider adding a few vertical elements. Think: miniature trellises, decorative garden stakes, or stacked stones. Vertical elements like these can help to break up the space and draw the eye. They also add depth, movement, and that “peek-out-the-window-into-a-world” effect that makes a window well garden so alluring.
Step 5: Frame Your View from the Inside
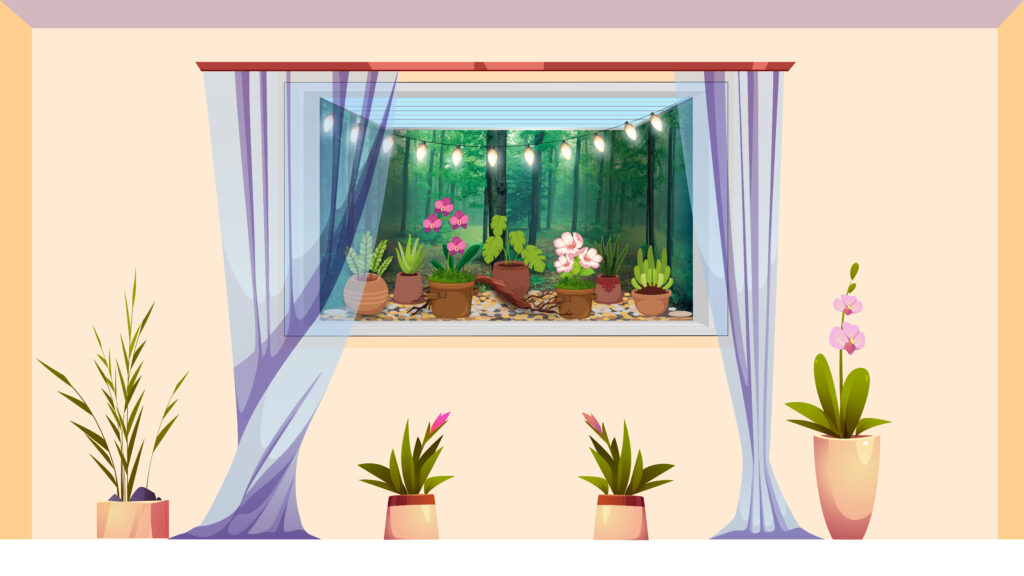
The purpose of a window well garden is that you get to enjoy it from indoors. So be sure the inside of your basement window looks just as good as what’s outside.
Consider adding sheer curtains that let light in but soften the view, styling your windowsill with plants or a candle, and coordinating your decor with the scene. For instance, if your window well garden features a golf scene, add a putting green runner inside to complete the look.